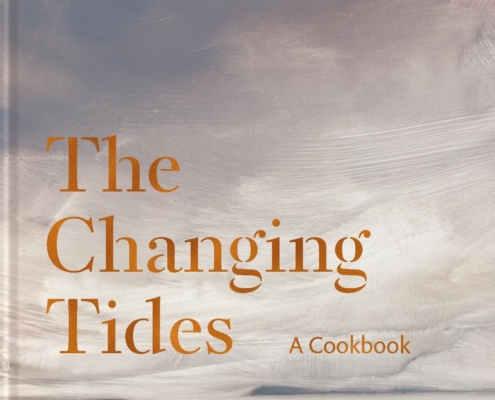
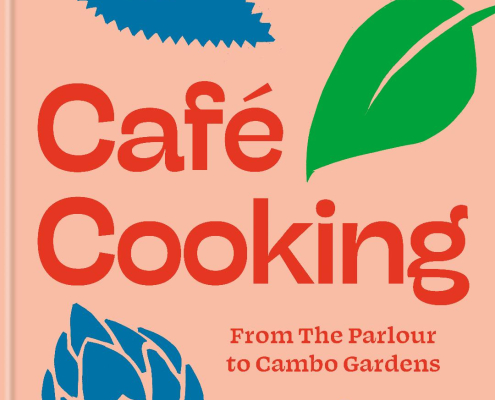
Kitchen Press is a new, independent publisher specialising in food writing. It aims, through lovingly crafted bespoke cookbooks, to connect innovative chefs, expert food writers and independent restauranteurs with customers and others around the world who love food.
We believe that the whole experience of reading about food and cooking should be as pleasurable and inspiring as eating it, and we want to help promote the people and places doing that best.


Sarah Savoy’s Fried Chicken
Here is Sarah Savoy’s recipe for Fried Chicken from her book The Savoy Kitchen – A Family History of Cajun Food. It’s a real American – and Cajun – classic.
“There are many things I often just assume people know how to do because I grew up doing them, and I’m often surprised when people say, ‘Oh my goodness, how did you make this [insert any ordinary dish here, like fried chicken, meatloaf, etc.]?’
So let me just toss in this one random soul food comfort meal. Serve it up with mashed potatoes, a side of corn macque choux and maybe some biscuits and gravy. To stop it being a complete carb overload, smothered okra is also great with fried chicken.”
Ingredients
Prep
Put the chicken pieces in a bowl with the buttermilk and add the dry mustard, thyme and a dash of hot sauce. Season the chicken with salt, black pepper and cayenne and mis well, then leave it in the fridge for at least one and a half hours, turning the pieces every thirty minutes.
Pour off as much of the buttermilk as you can, then mix the flour in with the chicken pieces to coat them. The batter will be very sticky and moist.
Frying Your Chicken
Preheat the oven to 150ºC. Fill a deep, heavy-bottomed skillet with enough oil to cover the largest piece of chicken and heat the oil until it’s hot but not smoking. Working in batches, place the chicken pieces in the oil and fry on each side for at least eight minutes or until the juices run clear when you pierce near the bone with a small, sharp knife. Thighs take the longest – up to twenty minutes a side. Once cooked, remove the pieces, drain them on a bed of paper towels and transfer to the oven for only as long as it takes you to cook the other pieces.
Note:
While you’ve got the oil hot, why not mix up a batch of hush puppies to eat with the chicken? Mix up 240g cornmeal, 110g flour, 1/2 tsp bicarb, 1/2 tsp baking powder, 1/2 tsp salt, half a small onion (finely chopped), 250ml milk or buttermilk and an egg. Throw in some chopped jalapeños or crab meat if you have any and drop the batter by tablespoons into the hot oil. Fry on all sides until golden brown and drain on paper towels.
Note:
You can either fry the chicken wings as well, or freeze them to make hot wings another day.
Buy The Savoy Kitchen – A Family History of Cajun Food here
Scottishstani Spiced Winter Squash and Tattie Scone Paratha
Recipe by
Sumayya Usmani
From
Tomorrow’s Kitchen – A Graphic Novel Cookbook
Sumayya says about this lovely recipe for Scottishstani Paratha: ‘This recipe I share with you now has to be the one that gives me the most comfort. As a child, I would wake up on a Sunday morning to be greeted by the smokey scent of fresh parathas being made on the tawa (flat griddle pan), my mouth watering in anticipation of breakfast. My mother made these by mixing leftover mashed potato bhujia into flour to make thick breads with generous amounts of fresh coriander, green chilli, cumin and ghee. When I moved to Glasgow, I was amazed at how similar parathas were to tattie scones – leftover mash mixed with flour and butter, best cooked on a cast iron ‘girdle’. For me, this is my go-to breakfast now.’
Ingredients
How to make your Scottishstani Paratha
Mix all the ingredients except the ghee in a large bowl. Stir in the melted ghee, a little at a time, until the mixture reaches a dough-like consistency.
Turn out onto a floured work surface and knead until smooth. Divide the dough into tennis ball-sized pieces. Cover with a damp cloth.
Heat a griddle pan, tawa or frying pan over a high heat. When hot, add a little ghee, then reduce the heat to medium.
On a floured surface, roll each dough ball into a 6mm-thick patty. Place in the hot ghee and cook gently, pressing down the corners with a clean tea towel or kitchen paper, to ensure it browns evenly. When one side is cooked – about 3-4 minutes – turn over and cook the other side. Repeat with the remaining dough and enjoy your Scottishstani Paratha!!!
Cheesy Scallops
From The Seafood Shack – Food & Tales from Ullapool
by Kirsty Scobie & Fenella Renwick
Honestly, if you love scallops and you love cheese this is a must-do recipe! It is also a great crowd pleaser so perfect if you’ve got pals over
for dinner.
Serves 4
Ingredients
For the cheese sauce:
Also, 8 curved scallop shells, cleaned
How to make your Cheesy Scallops
Make your cheese sauce first. Melt your butter in a pan on a medium heat, then stir in your plain flour and the crumbled stock cube. Cook this off for a few minutes, stirring constantly so the flour doesn’t burn. Slowly pour in the milk, constantly whisking until you have a thick, smooth white sauce. There are no rules so add more or less milk depending on how thick you like your cheese sauce. Now stir in your cheese and keep on a low heat until it has melted.
Set your grill to a high heat. Dry the scallops well on kitchen roll to stop them spitting when you add them to the pan. Put the frying pan on a high heat and add the oil. When it’s good and hot, put in the scallops. You want to hear them sizzle – if they don’t, your oil isn’t hot enough. Don’t move them around in the pan, just let them fry for a minute and get a nice caramel colour. Season, then flip them over, season again and cook for a minute on the other side.
Now place two scallops in each shell and pour over some of the cheese sauce. Finish with some grated Parmesan, then put under the hot grill on a baking tray until the cheese starts to brown and caramelise. Serve with some chopped parsley and a wedge of lemon.
Buy The Seafood Shack – Food & Tales from Ullapool here